Installation Instructions
1. Insert the USB connector on the portable hard drive into your USB port.

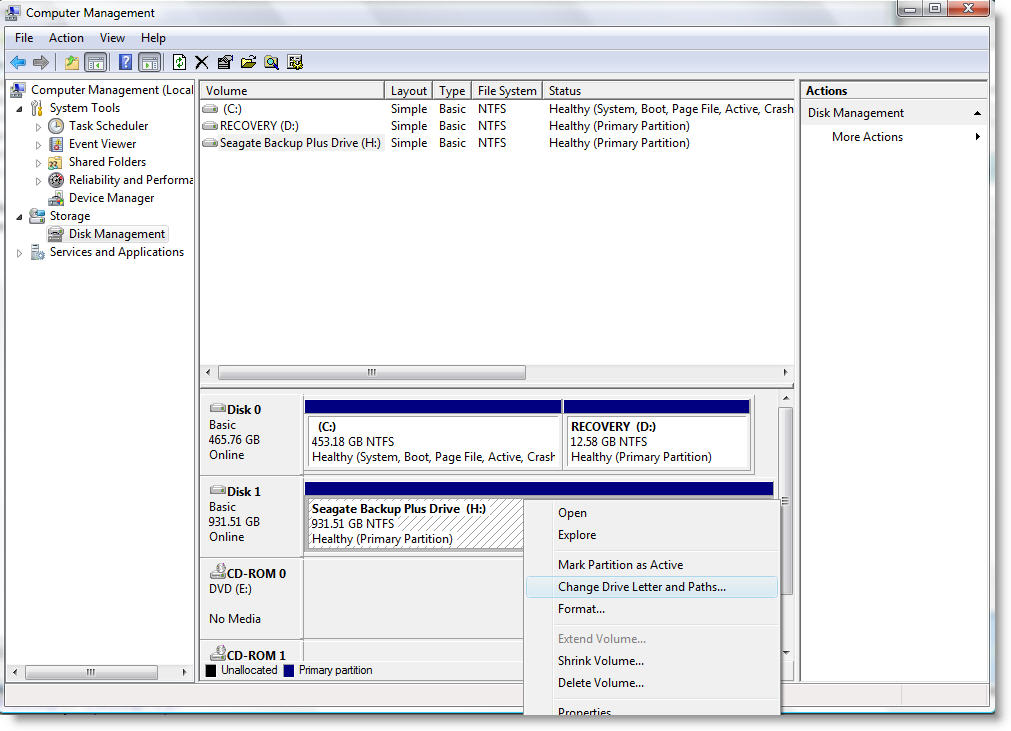
2. (Optional) If the drive letter for the USB drive is not "H", you must navigate to the Disk Management for in the Computer Management form through the Control Panel and choose to change the drive letter to "H". This must be done to make sure that the virtual drives are seen by Oracle VirtualBox.
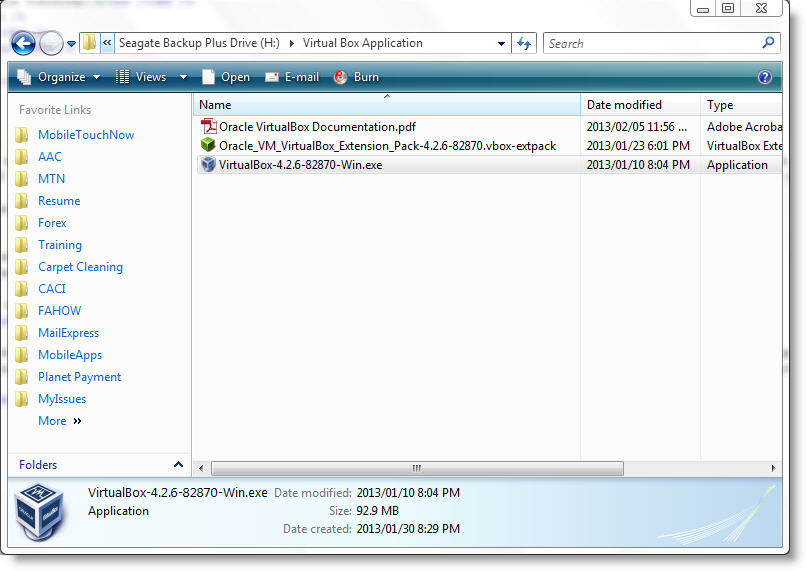
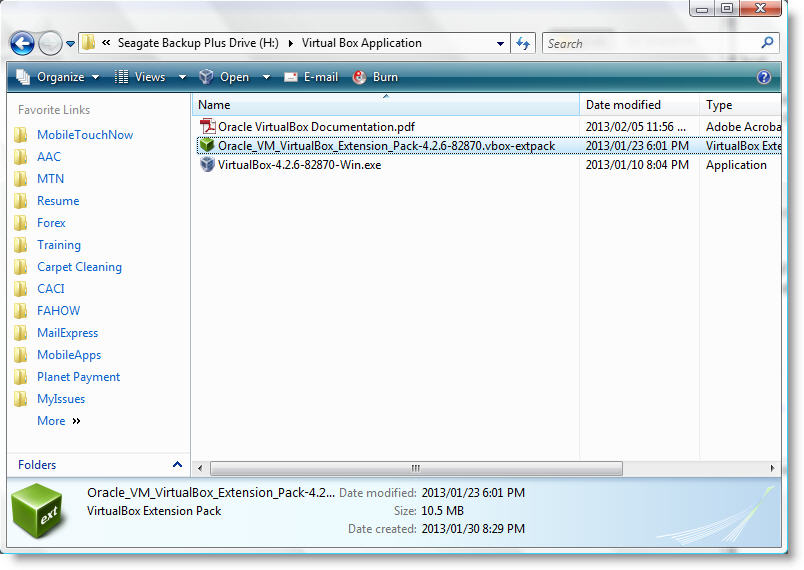
3. Navigate to the "VirtualBox Application" directory on the portable drive and click on the "VirtualBox-4.2.6-82870-Win.exe" file to begin the installation of the Oracle VirtualBox Application.
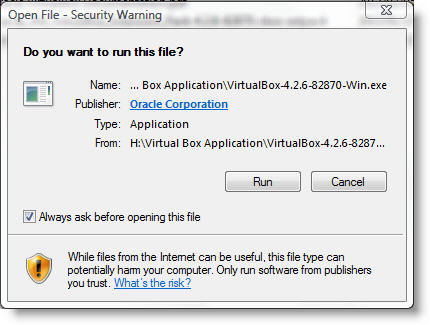
4. Choose "Run" in the dialog box that pops up.
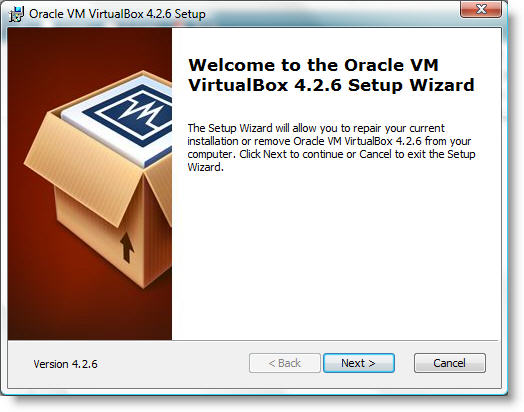
5. Accept the default settings and complete the install.
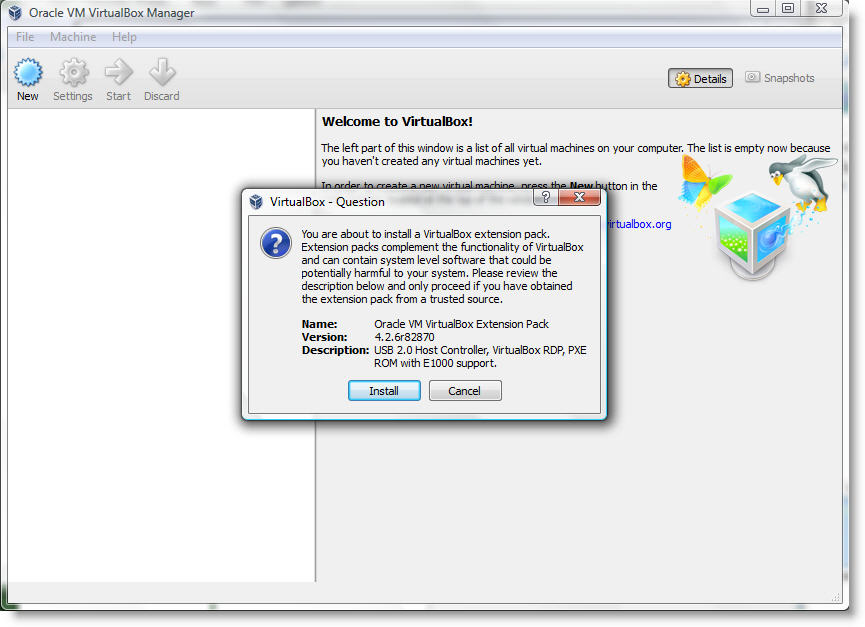
6. Now install the VirtualBox extension pack. In the "VirtualBox Application" directory on the portable drive, click on the "Oracle_VM_VirtualBox_Extension_Pack-4.2.6-82870.vbox-extpack" file. The following dialob box will open.
7. Click on the "Install" button and follow the instructions to complete the install.
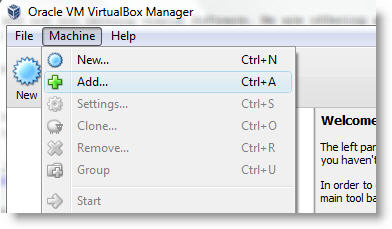
8. Now you are ready to add the Virtual Machines. Click on the "Machine" menu and choose "Add" to add the virtual machines.
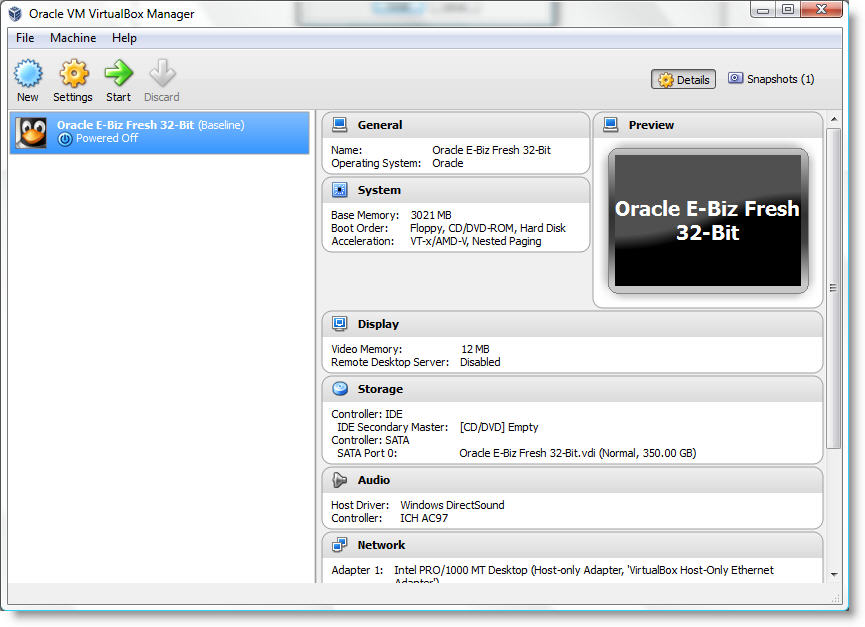
9. Navigate to the "Oracle Virtual Machines" directory on the portable hard drive. Then click on the "Oracle E-Biz Fresh 32-Bit" directory and choose the "Oracle E-Biz Fresh 32-Bit.vbox" file.
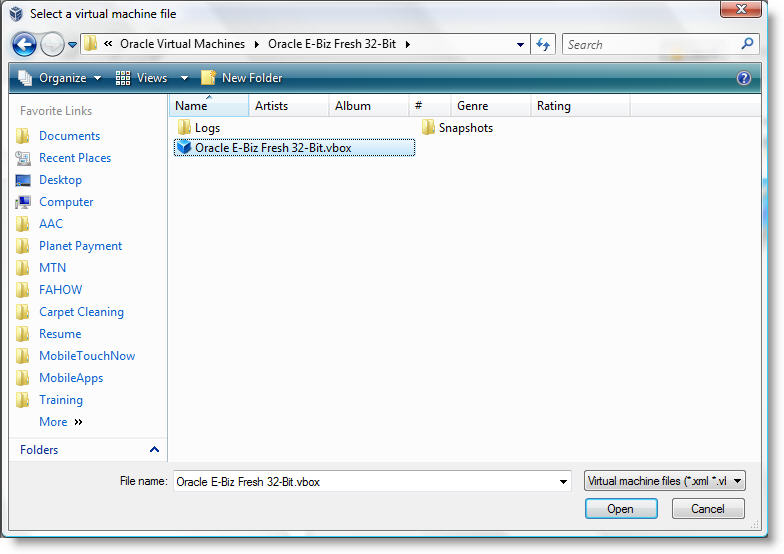
10. Upon choosing the virtual machine, it should appear in the virtulbox application.
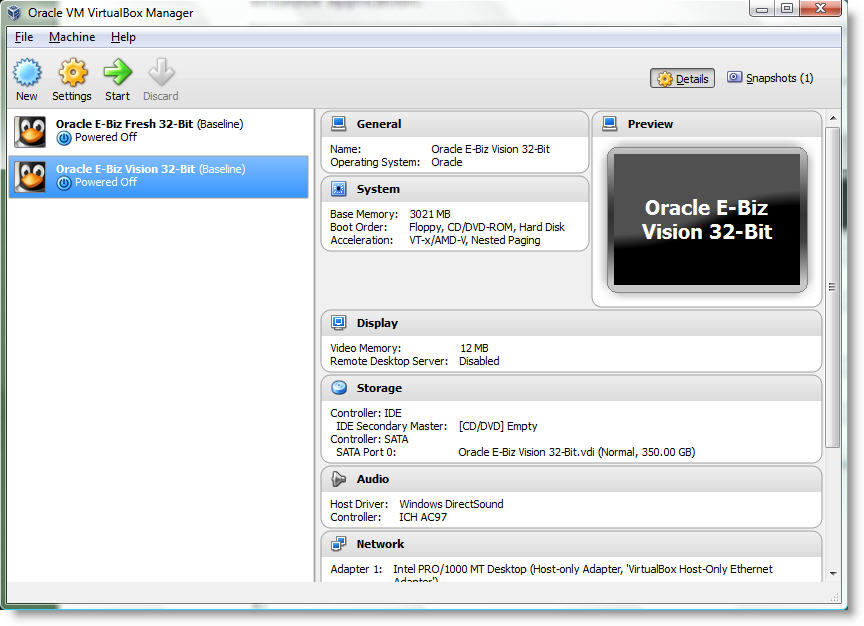
11. Now repeat steps 8 and 9 above for the Vision virtual machine. The Vision virtual machine file is located in the
"Oracle Virtual Machines" -> "Oracle E-Biz Vision 32-Bit" directory.
12. You have now completed your installation of your Oracle Virtual Machines. You are just a couple of steps away from enjoying your virtual machines. You must now edit your hosts file. Navigate to your hosts file is usually located in the C:\Windows\System32\drivers\etc directory. Add the following lines at the bottom of the file:
192.168.56.120 visserver.myserver visserver
192.168.56.110 oraserver.myserver oraserver
Your installation is now complete. You are ready to use your instance
Starting Your Instance
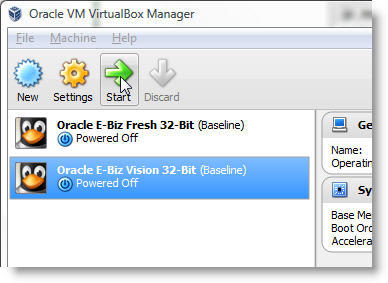
1. Choose the virtual machine that you want to start and click on the "Start" button in the menu.
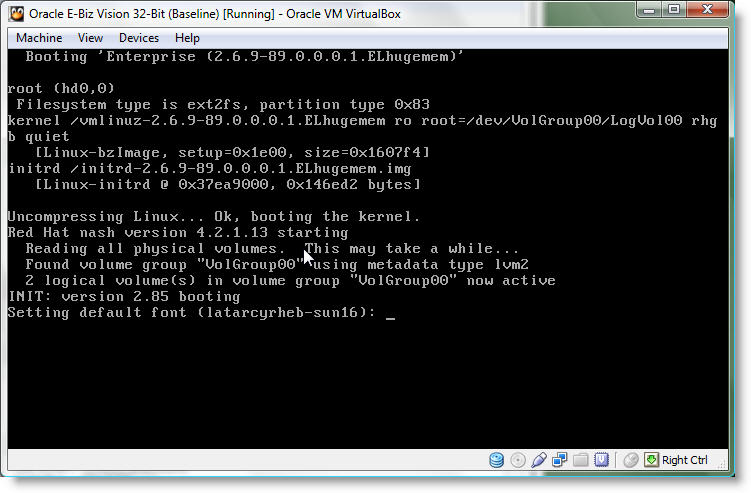
2. Another window will open. The initial screen will indicate that the Linux operating system is starting. This process can take approximately 1 or 2 minutes.
3. After the operating system starts, the services will be started. The last service to be started is the Oracle Application. The Oracle Application startup script can take anywhere from 5 to 10 minutes. Be patient. The script will start the database and all pertinent services.
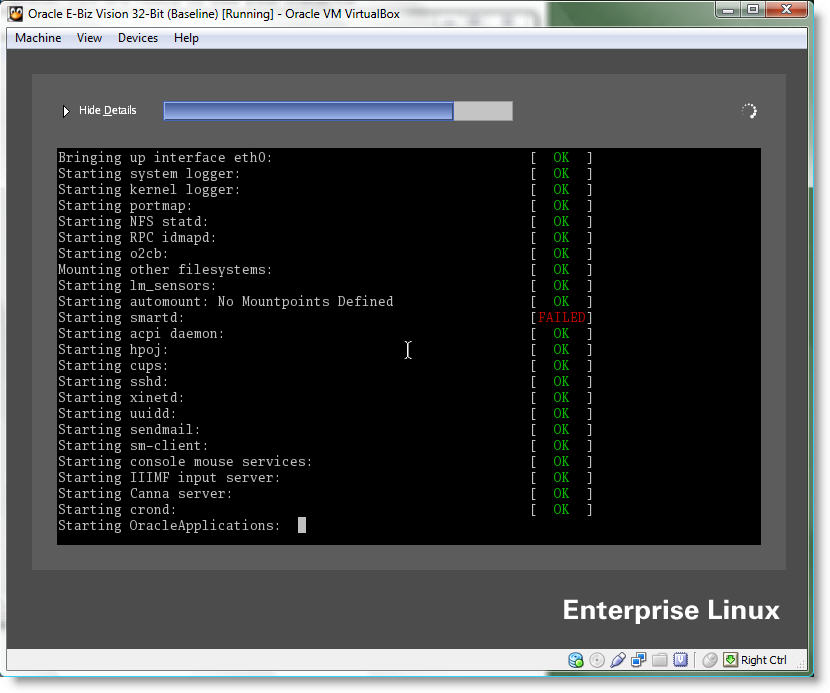
Note: Oracle applications must be started and shutdown manually each time the servers are started and closed. In order to automate as much as possible, I created a script to do this for you. However, you must allow the scripts and services to complete before using the server.
4. After the Oracle Application start script has completed, you must log onto the server
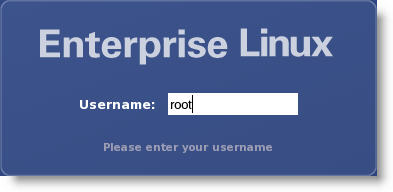
Username: root
Password: password
5. Please allow the server to completely start. Wait approximately 3 to 5 minutes after the navigation menu appears before attempting to log onto the Oracle Applications. This should be sufficient to allow the server to completely start.
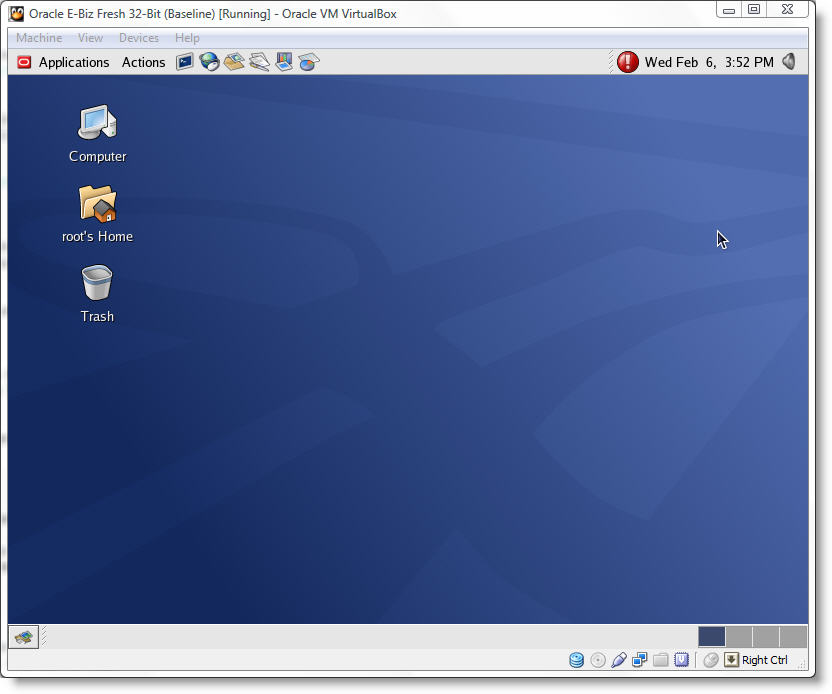
Note: You must keep this window and the Oracle VirtualBox window open as long as you are using the Oracle Application.
Using Your Instance
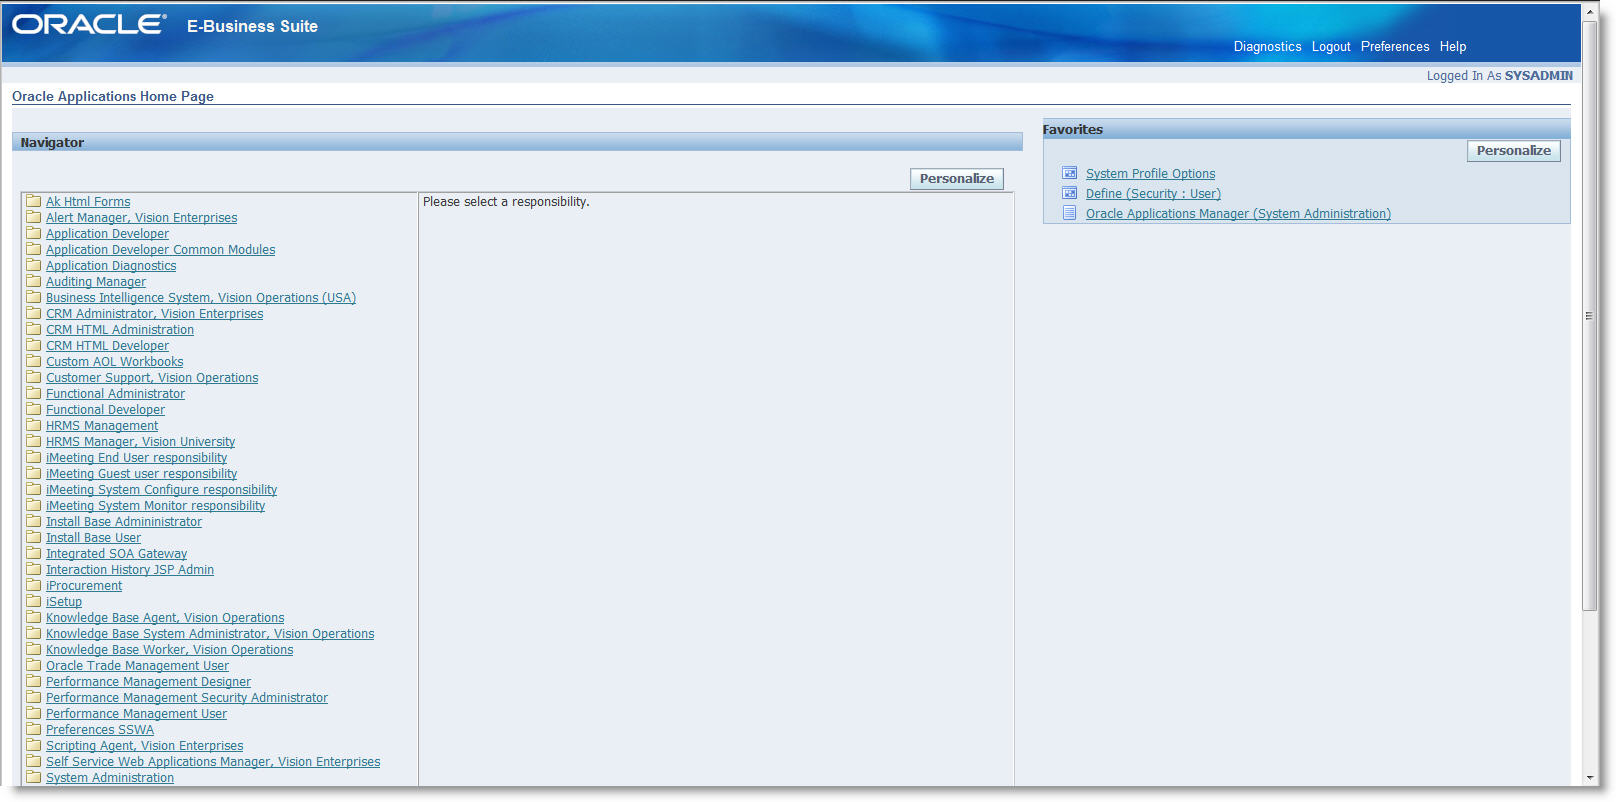
1. Open an Internet Explorer browser window on the host computer (your laptop or desktop) and enter the following URL http://visserver.myserver:8000/OA_HTML/AppsLogin for the Vision instance and http://oraserver.myserver:8000/OA_HTML/AppsLogin for the Fresh Install instance.
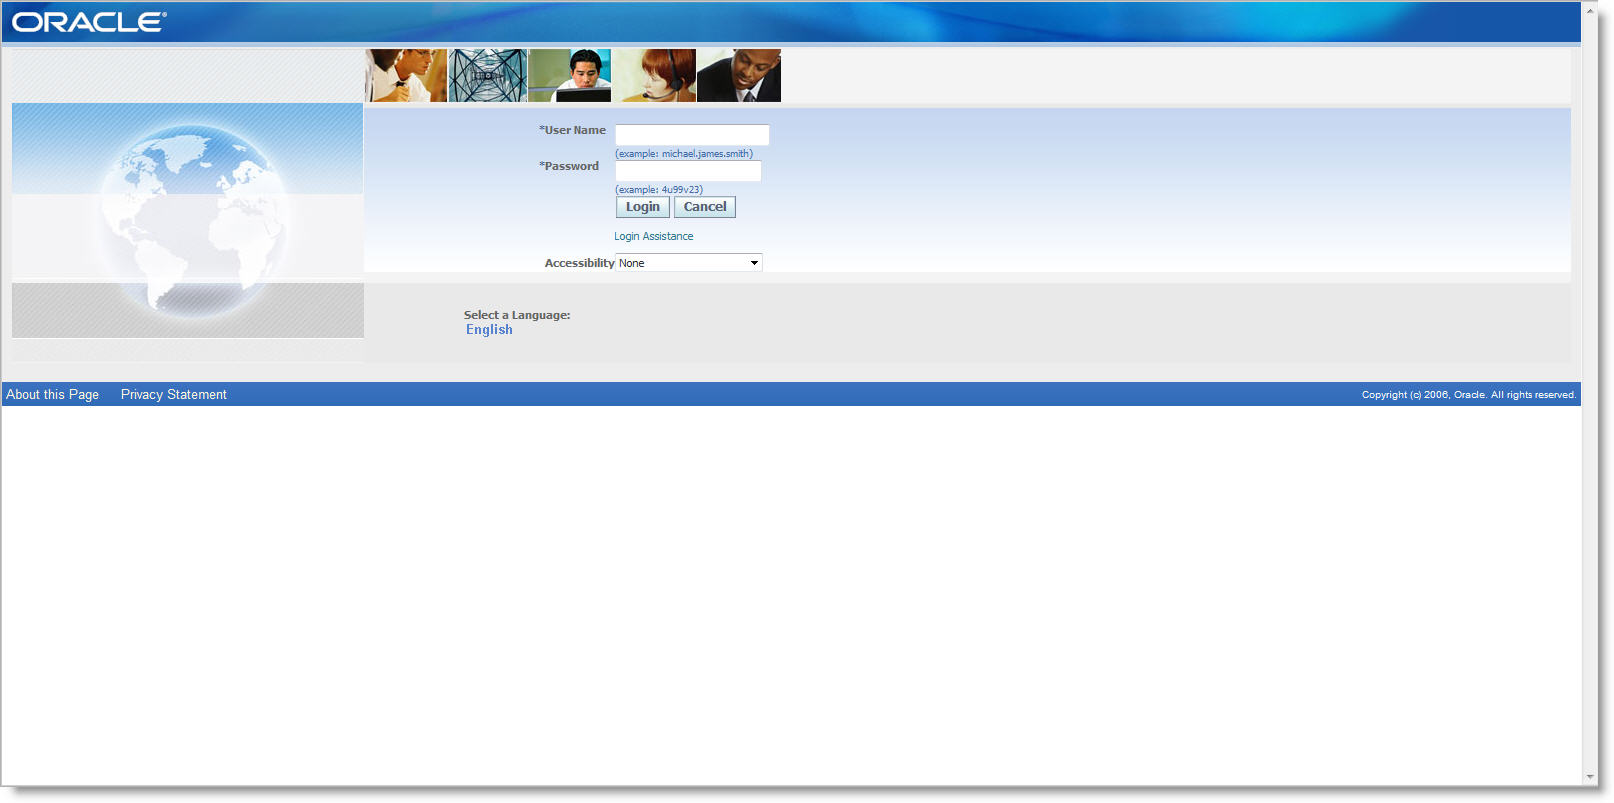
Note: Depending on the amount of memory that you have on your host machine, this process may take a few minutes before showing the logon form. After you log on, the speed should improve.
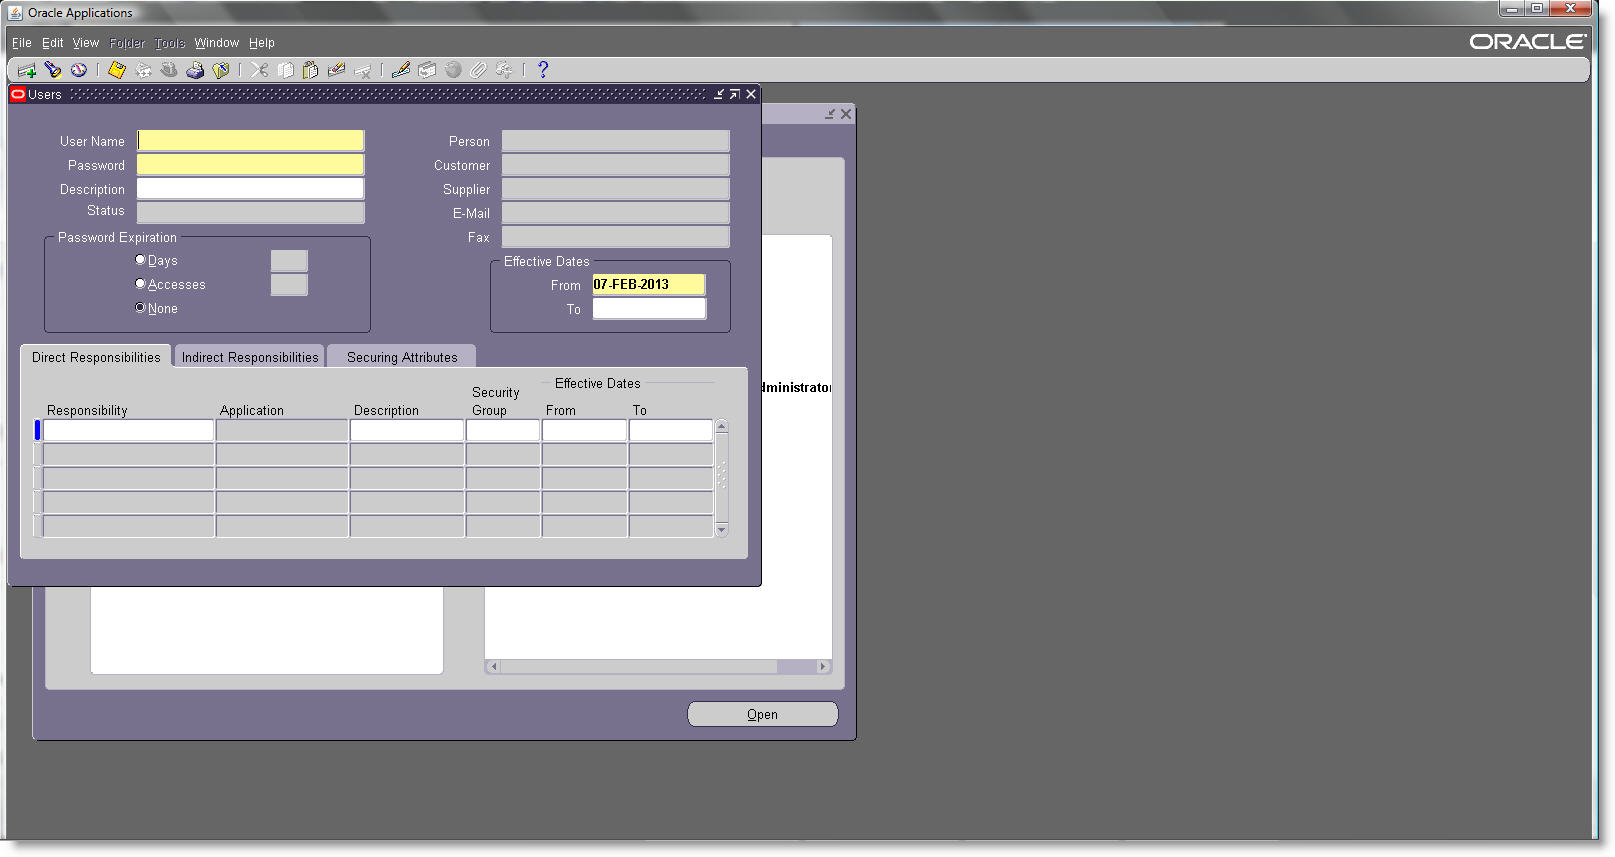
2. If you have not already created a user account, you can log on with the username/password combination sysadmin/sysadmin account.
3. If this is the first time you are opening the Oracle forms for the first time, plase allow for java to be downloaded from the server.
Closing Your Instance
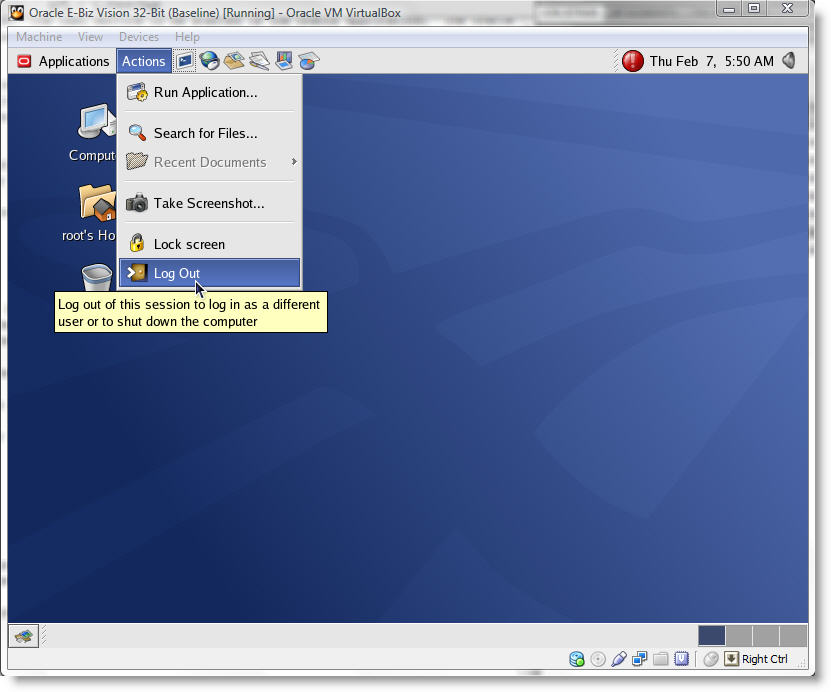
Oracle Applications as you know is a very fine tuned, delicately-balanced machine. I guess that is why all the geeks make the big bucks. Just saying. As such, you should take care when you shut down the instance. To do so incorrectly can cause issues that could take hours and/or days to correct. If so, you may need a DBA to to help troubleshoot.1. Click on your Virtual machine (guest operating machine). Click on "Log Out" in the "Actions" menu.
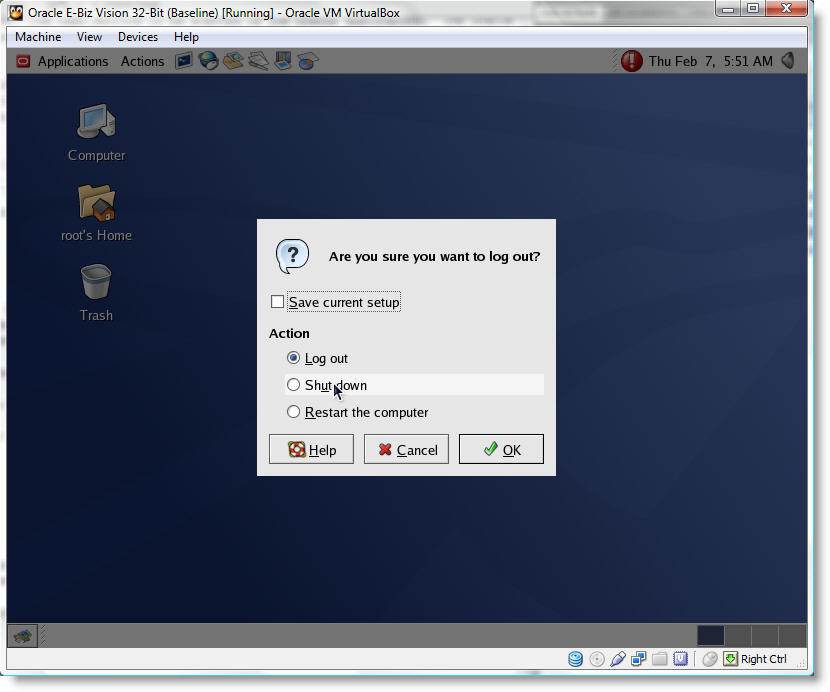
2. Choose "Shut Down" and click "OK" to shut down the virtual machine. All services will be shutdown automatically.
Creating a Snapshot
At some point you are going to want to make a snapshot of your instance to backup your changes. With snapshots, you can save a particular state of a virtual machine for later use. At any later time, you can revert to that state, even though you may have changed the VM considerably since then. A snapshot of a virtual machine is thus similar to a machine in "saved" state, as described above, but there can be many of them, and these saved states are preserved.
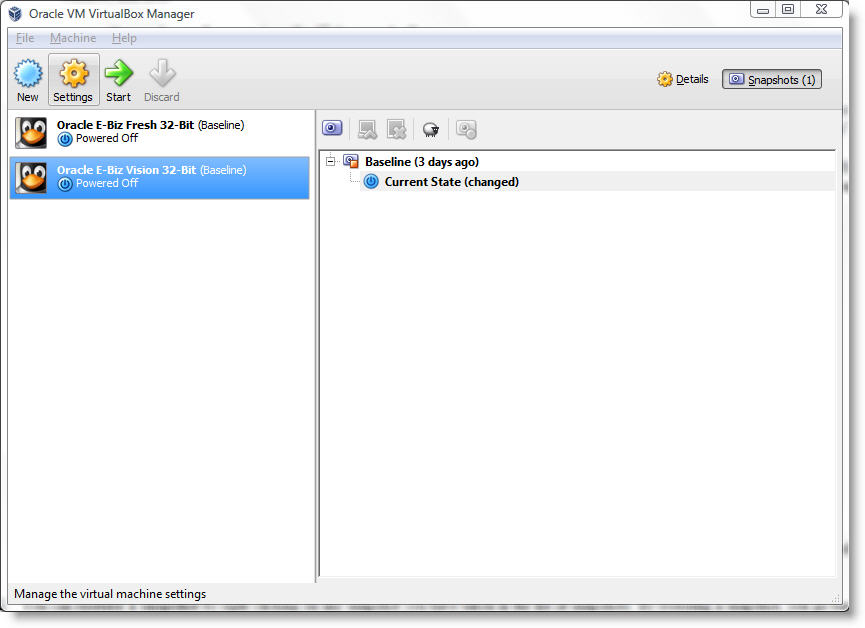
You can see the snapshots of a virtual machine by first selecting a machine in the VirtualBox Manager and then clicking on the "Snapshots" button at the top right. Until you take a snapshot of the machine, the list of snapshots will be empty except for the "Current state" item, which represents the "Now" point in the lifetime of the virtual machine.
There are three operations related to snapshots:
1. You can take a snapshot. This makes a copy of the machine's current state, to which you can go back at any given time later.
- If your VM is currently running, select "Take snapshot" from the "Machine" pull-down menu of the VM window.
- If your VM is currently in either the "saved" or the "powered off" state (as displayed next to the VM in the VirtualBox main window), click on the "Snapshots" tab on the top right of the main window, and then
- either on the small camera icon (for "Take snapshot") or
- right-click on the "Current State" item in the list and select "Take snapshot" from the menu.
In any case, a window will pop up and ask you for a snapshot name. This name is purely for reference purposes to help you remember the state of the snapshot. For example, a useful name would be "Fresh installation from scratch, no Guest Additions", or "Service Pack 3 just installed". You can also add a longer text in the "Description" field if you want.
Your new snapshot will then appear in the snapshots list. Underneath your new snapshot, you will see an item called "Current state", signifying that the current state of your VM is a variation based on the snapshot you took earlier. If you later take another snapshot, you will see that they will be displayed in sequence, and each subsequent snapshot is derived from an earlier one:
VirtualBox imposes no limits on the number of snapshots you can take. The only practical limitation is disk space on your host: each snapshot stores the state of the virtual machine and thus occupies some disk space. (See the next section for details on what exactly is stored in a snapshot.)
2. You can restore a snapshot by right-clicking on any snapshot you have taken in the list of snapshots. By restoring a snapshot, you go back (or forward) in time: the current state of the machine is lost, and the machine is restored to the exact state it was in when the snapshot was taken.
Note Restoring a snapshot will affect the virtual hard drives that are connected to your VM, as the entire state of the virtual hard drive will be reverted as well. This means also that all files that have been created since the snapshot and all other file changes will be lost.
To avoid losing the current state when restoring a snapshot, you can create a new snapshot before the restore.
By restoring an earlier snapshot and taking more snapshots from there, it is even possible to create a kind of alternate reality and to switch between these different histories of the virtual machine. This can result in a whole tree of virtual machine snapshots, as shown in the screenshot above.
3. You can also delete a snapshot, which will not affect the state of the virtual machine, but only release the files on disk that VirtualBox used to store the snapshot data, thus freeing disk space. To delete a snapshot, right-click on it in the snapshots tree and select "Delete".
Note Whereas taking and restoring snapshots are fairly quick operations, deleting a snapshot can take a considerable amount of time since large amounts of data may need to be copied between several disk image files. Temporary disk files may also need large amounts of disk space while the operation is in progress.
There are some situations which cannot be handled while a VM is running, and you will get an appropriate message that you need to perform this snapshot deletion when the VM is shut down.